

Installing ground screws for any project
Installing ground screws for any project
Ground screws are exactly what they sound like – large metal screws that twist into the ground to create instant foundation points. No digging, no concrete mixing, no waiting around for things to set.
Here, we want to talk about ground screw installation.
We’ve been installing ground screws for all sorts of projects since 2010, and we’ve learned a few things along the way.
This guide covers everything for DIYers looking to tackle installation themselves, and outlines what professionals bring to the table for more complex projects.
So, without further ado, let’s dive in.
We talk to people every day who are weighing up whether to install ground screws themselves or get us to do it for them. It’s not always an obvious choice.
Some of our most enthusiastic customers have installed dozens of ground screws themselves over the years. Others tried DIY installation once and immediately called us afterwards. The difference often boils down to the project type and the ground conditions you’re working with.
Simply put, DIY installation shines for smaller, simpler projects. If you’re putting up a standard shed, building a straightforward deck, or installing fence posts, doing it yourself makes perfect sense. You’ll save on costs, and with the right tools and a bit of patience, the results can be pretty much as good as professional work.
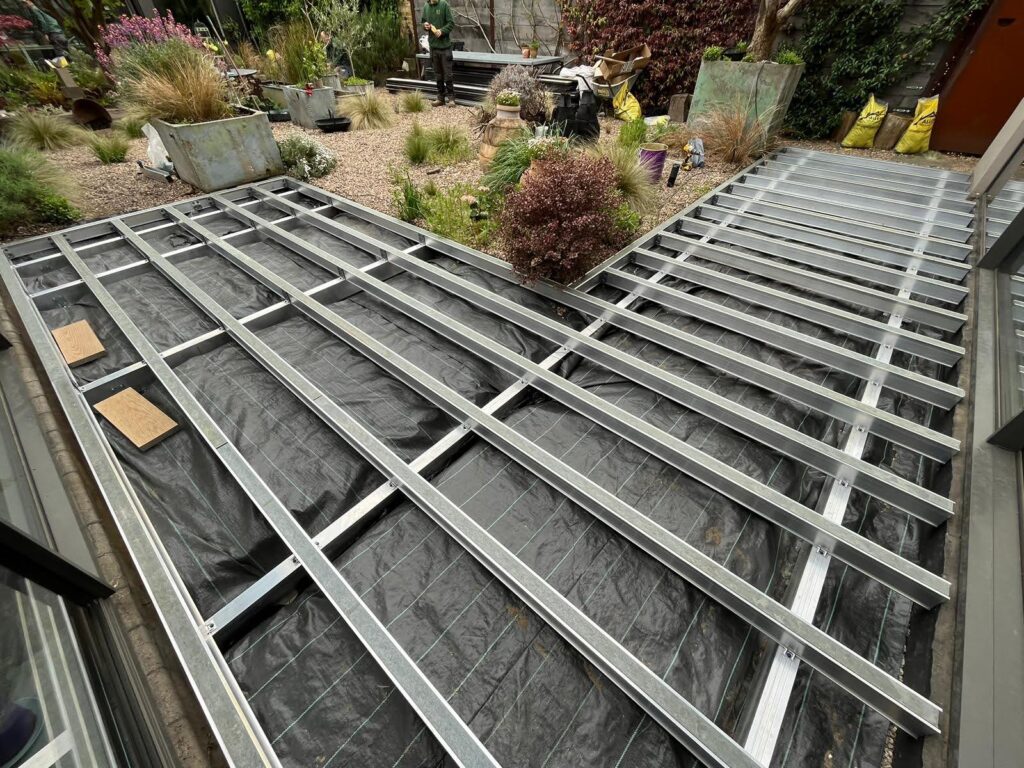
Conversely, professional installation becomes increasingly valuable as projects grow in size or complexity.
Garden rooms, large outbuildings, and structures requiring planning permission or building regulations approval all benefit from professional precision.
The peace of mind that comes from knowing your substantial investment sits on properly installed foundations often outweighs the additional cost.
The perfect installation site – flat, with good access and consistent, loamy soil – is surprisingly rare in the real world.
Over 15 years of installing ground screws, we’ve encountered every soil type and site condition imaginable.
What we’ve learned is that ground conditions can turn a simple-looking installation into an exercise in frustration without the right equipment and know-how.
Sloping ground creates levelling complications. Each ground screw needs to be installed to a precise height to create a level platform – not always easy when you’re working on an incline.
If you don’t factor sloping ground into your plans, you’ll encounter doors that jam, windows that crack, and floors that feel noticeably sloped.
Waterlogged soil, common in builds near water, gives ground screws nothing solid to grip. In wet, boggy ground, standard screws might spin freely without catching or, worse, sink under load months after installation.
The solution is usually longer screws that reach stable ground beneath the wet layer, but installing these often requires equipment with more torque than typical DIY tools provide.
If your site collects water after rain or has a high water table, this is a red flag that DIY installation might be problematic.
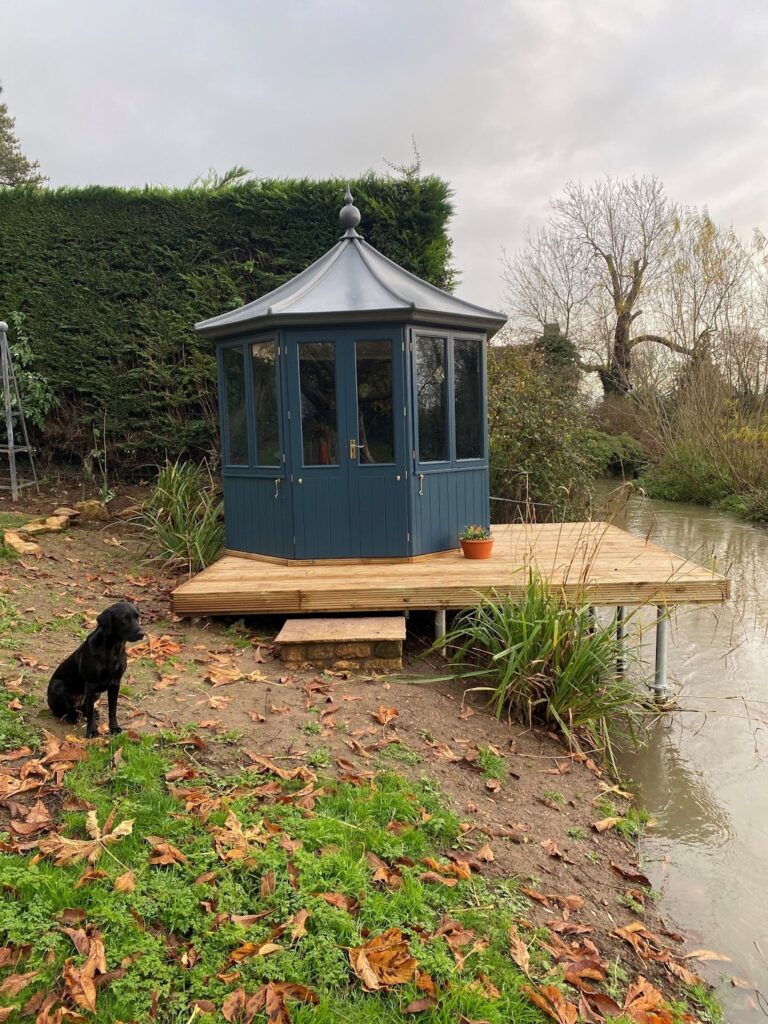
Clay or rocky ground resists even the most determined DIY installation attempts. Dense clay can be nearly impenetrable with hand tools, while rocks hidden beneath the surface can stop a ground screw dead or force it off course.
Professional equipment simply has much more power for these challenging conditions, and pro site assessments help identify issues to position screws effectively.
TPO areas come with both legal issues and physical challenges. Installing too close to protected trees, or damaging roots during installation can result in hefty fines.
The rules around TPOs are strict for good reason, but they add another layer to installation. Professional installers understand the regulations and have techniques for working around root systems without causing damage.
The bottom line is, for straightforward builds on cooperative ground, DIY installation offers tangible savings and satisfaction.
As projects grow in size or sites present some nuanced challenges, professional installation becomes less of a luxury and more of a necessity.
If you’ve decided to tackle ground screw installation yourself, you’re in for a satisfying project that’s simpler than mixing concrete but requires a bit more technique than hammering nails.
Here’s what you need to know to get it right the first time.
Before you drive your first ground screw, you’ll need to gather the right tools. At minimum, you’ll need:
For DIY installation, you’ll be working with our self-install range. We offer three sizes to cover most home and garden projects:
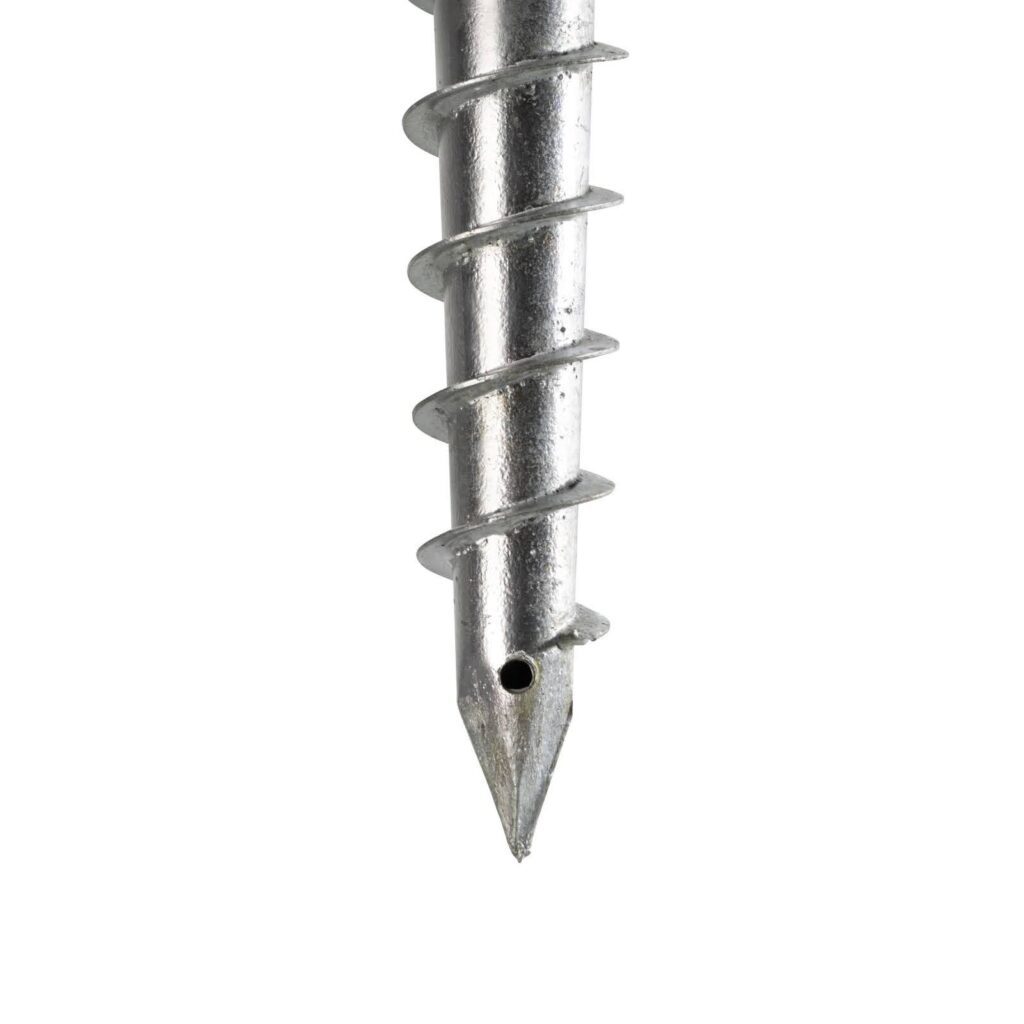
The right length depends on both what you’re building and what’s underneath it. The heavier your structure or the softer your soil, the longer the screw you’ll typically need.
Our Ground Screw Calculator helps determine both the type and number of screws required based on your specific project dimensions.
Not sure which to choose? Many customers start with our trial kit, which includes a single screw, bracket, and installation tool rental to test the ground before committing to their full order.
Start by marking out where each ground screw will go. For most structures, ground screws should be no more than 1.5 meters apart for proper support.
If you’re using our Ground Screw Calculator, it will give you indicative placement recommendations based on your joist size and total project weight.
Pre-drilling a pilot hole at each position breaks through tough surface layers and helps you check for hidden obstacles, such as large stones.
Always check for underground services before you start – hitting a water pipe or electrical cable is the fastest way to turn a simple project into an expensive ordeal.
Start the screw by hand, then use the installation tool with downward pressure until it’s inserted about 100mm.
At this point, the screw will begin pulling itself into the ground with less effort. For each quarter turn of the installation tool, the ground screw will move 10mm deeper into the ground.
For difficult ground conditions, pouring a small amount of water into and around the ground screw can help soften the soil. Wait a few minutes for the water to disperse through the drain hole in the bottom of the screw, then continue installation.
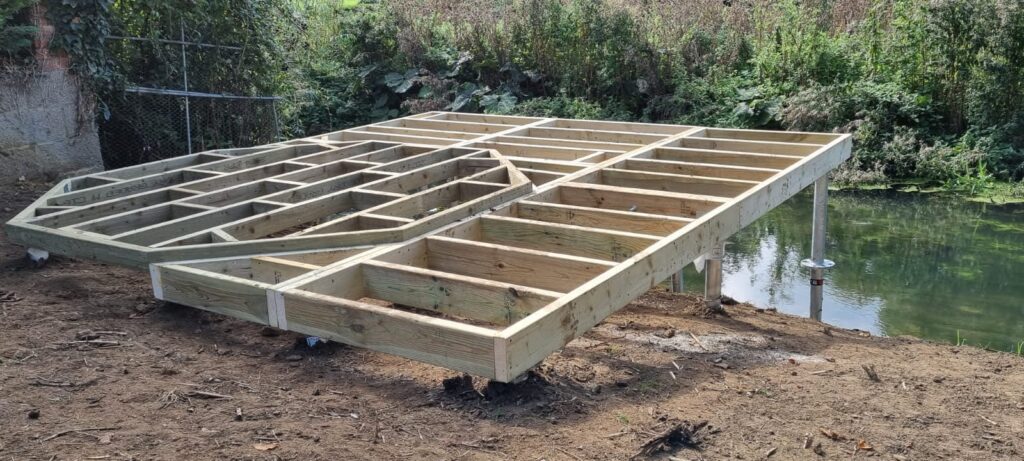
We’ve helped many customers who ran into problems with their DIY installations. Here are the most common issues to avoid:
Ground screws have to be driven into the ground straight. A tilted screw significantly reduces load capacity and can cause your structure to shift over time.
Use your magnetic level frequently during installation to check your vertical alignment.
Ground screws need to be level. Start at your highest ground point (your “datum” point) and use that first screw as your reference for all others. When installing additional screws, use a spirit level from your datum point to align the heights perfectly.
Our bracket range includes standard “L” shaped brackets (GS-STDBR3/STDBR4) for most joists, “U” shaped brackets (GS-UBR) for posts, double joist brackets for larger timbers, and specialised SIPS panel support brackets for modular construction.
Matching your brackets to your specific building needs is vital for long-term stability.
Sometimes DIY installation isn’t practical, possible, or worth the risk.
For example, larger structures like garden rooms or annexes need foundations you can trust completely. And then we have the challenges we presented earlier, all of which can conspire against DIYers.
Here’s what professional installation brings to the table:
Professional installation includes proper evaluation of your site’s specific conditions. We assess soil composition at various depths, drainage patterns, and obstacles that might affect installation.
Doing our homework here ensures we select the right ground screws for your particular soil and structure, helping prevent any possible future settlement or stability issues.
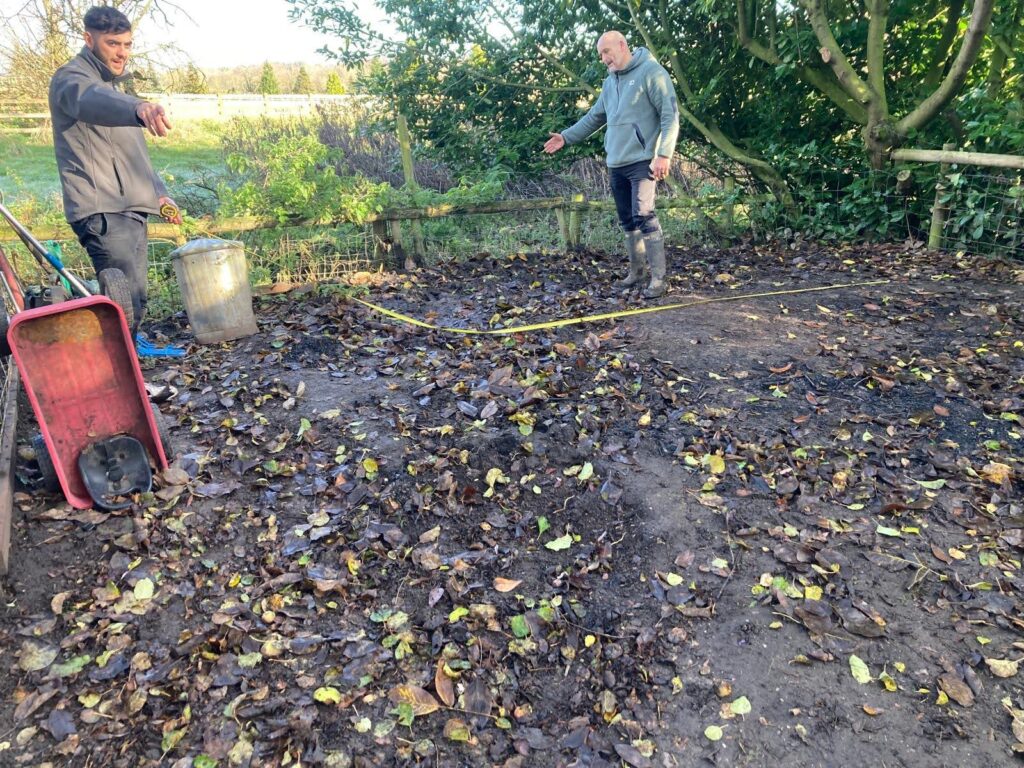
We use hydraulic installation machinery rather than manual tools. This equipment handles challenging ground conditions, such as clay, rocky soil, or areas with roots, that would typically stop DIY installation in its tracks.
The machinery ensures screws are driven straight into the ground and reach proper depth regardless of ground resistance – key for structural stability and load-bearing capacity.
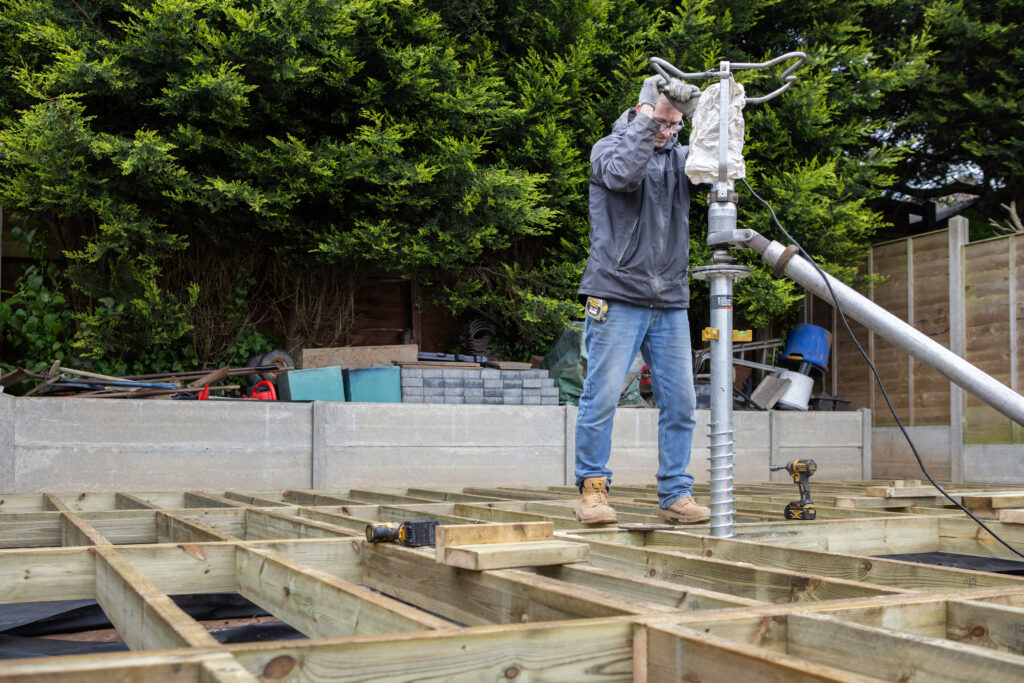
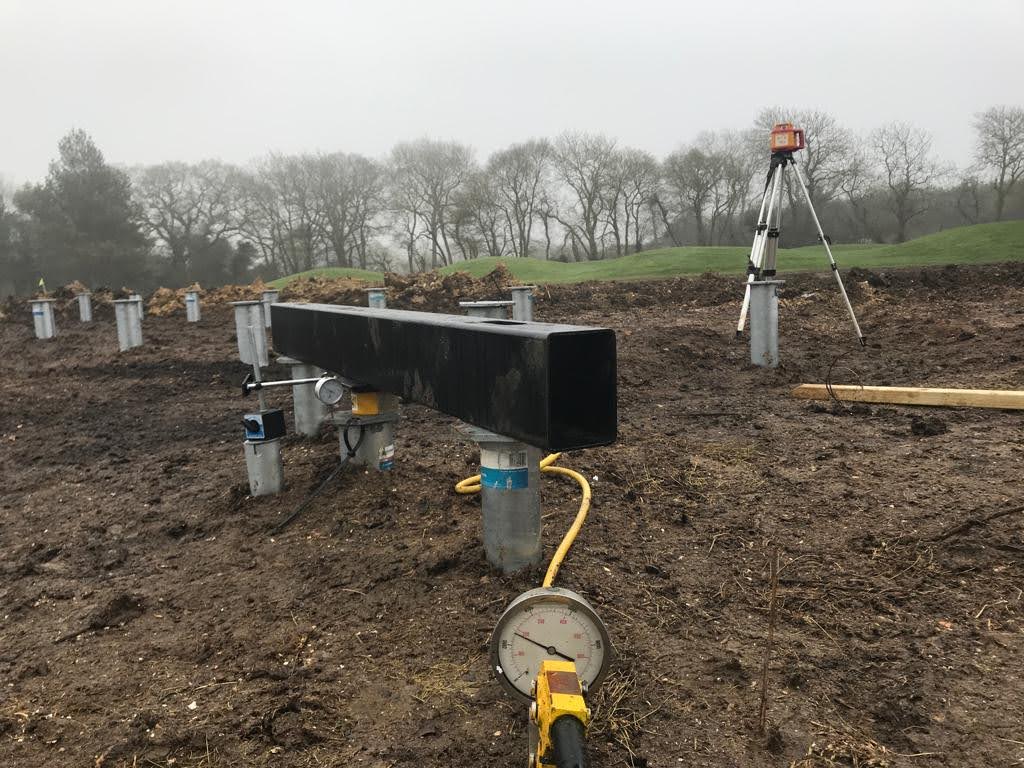
For buildings requiring building regulations approval or structures in challenging environments, we offer comprehensive professional load testing. This measures:
Load testing provides documented evidence of foundation performance, vital for satisfying the building control requirements that apply to some projects.
What might take a DIYer several days of trial and error, our teams typically complete in just a few hours. Our refined process eliminates the false starts and adjustments that often plague DIY installations.
For projects with deadlines or commercial builds where time equals money, this efficiency delivers significant value.
For structures requiring building regulations approval, professional installation with documented load testing simplifies the approval process.
All in all, professional installation isn’t necessary for every project, but for complex builds, challenging sites, or structures requiring certification, it offers practical advantages that extend well beyond convenience.
Ground screws are transforming how people create foundations. Whether you install them yourself or hire the GSC team, you’ll gain solid, environmentally friendly support without the hassle of concrete or other traditional foundations.
To sum up, DIY installation works brilliantly for smaller projects, offering excellent savings and the satisfaction of doing it yourself. Just remember to get the right tools, check for underground services, and take your time getting those screws level.
For larger structures, difficult sites, or projects needing building control approval, our professional installation service brings 15 years of expertise to your doorstep.
From site assessment to load testing, we ensure your foundations are installed properly and documented thoroughly.
Ready to get started? Use our Ground Screw Calculator to work out exactly what you need, or contact us to discuss professional installation for your project.